INSTAGRAM

Showing posts with label Scallop. Show all posts

Saturday, May 05, 2018

Swing Era Collections

I've been constantly listening to 1920s to 1940s jazz music...this is what happens when I do!
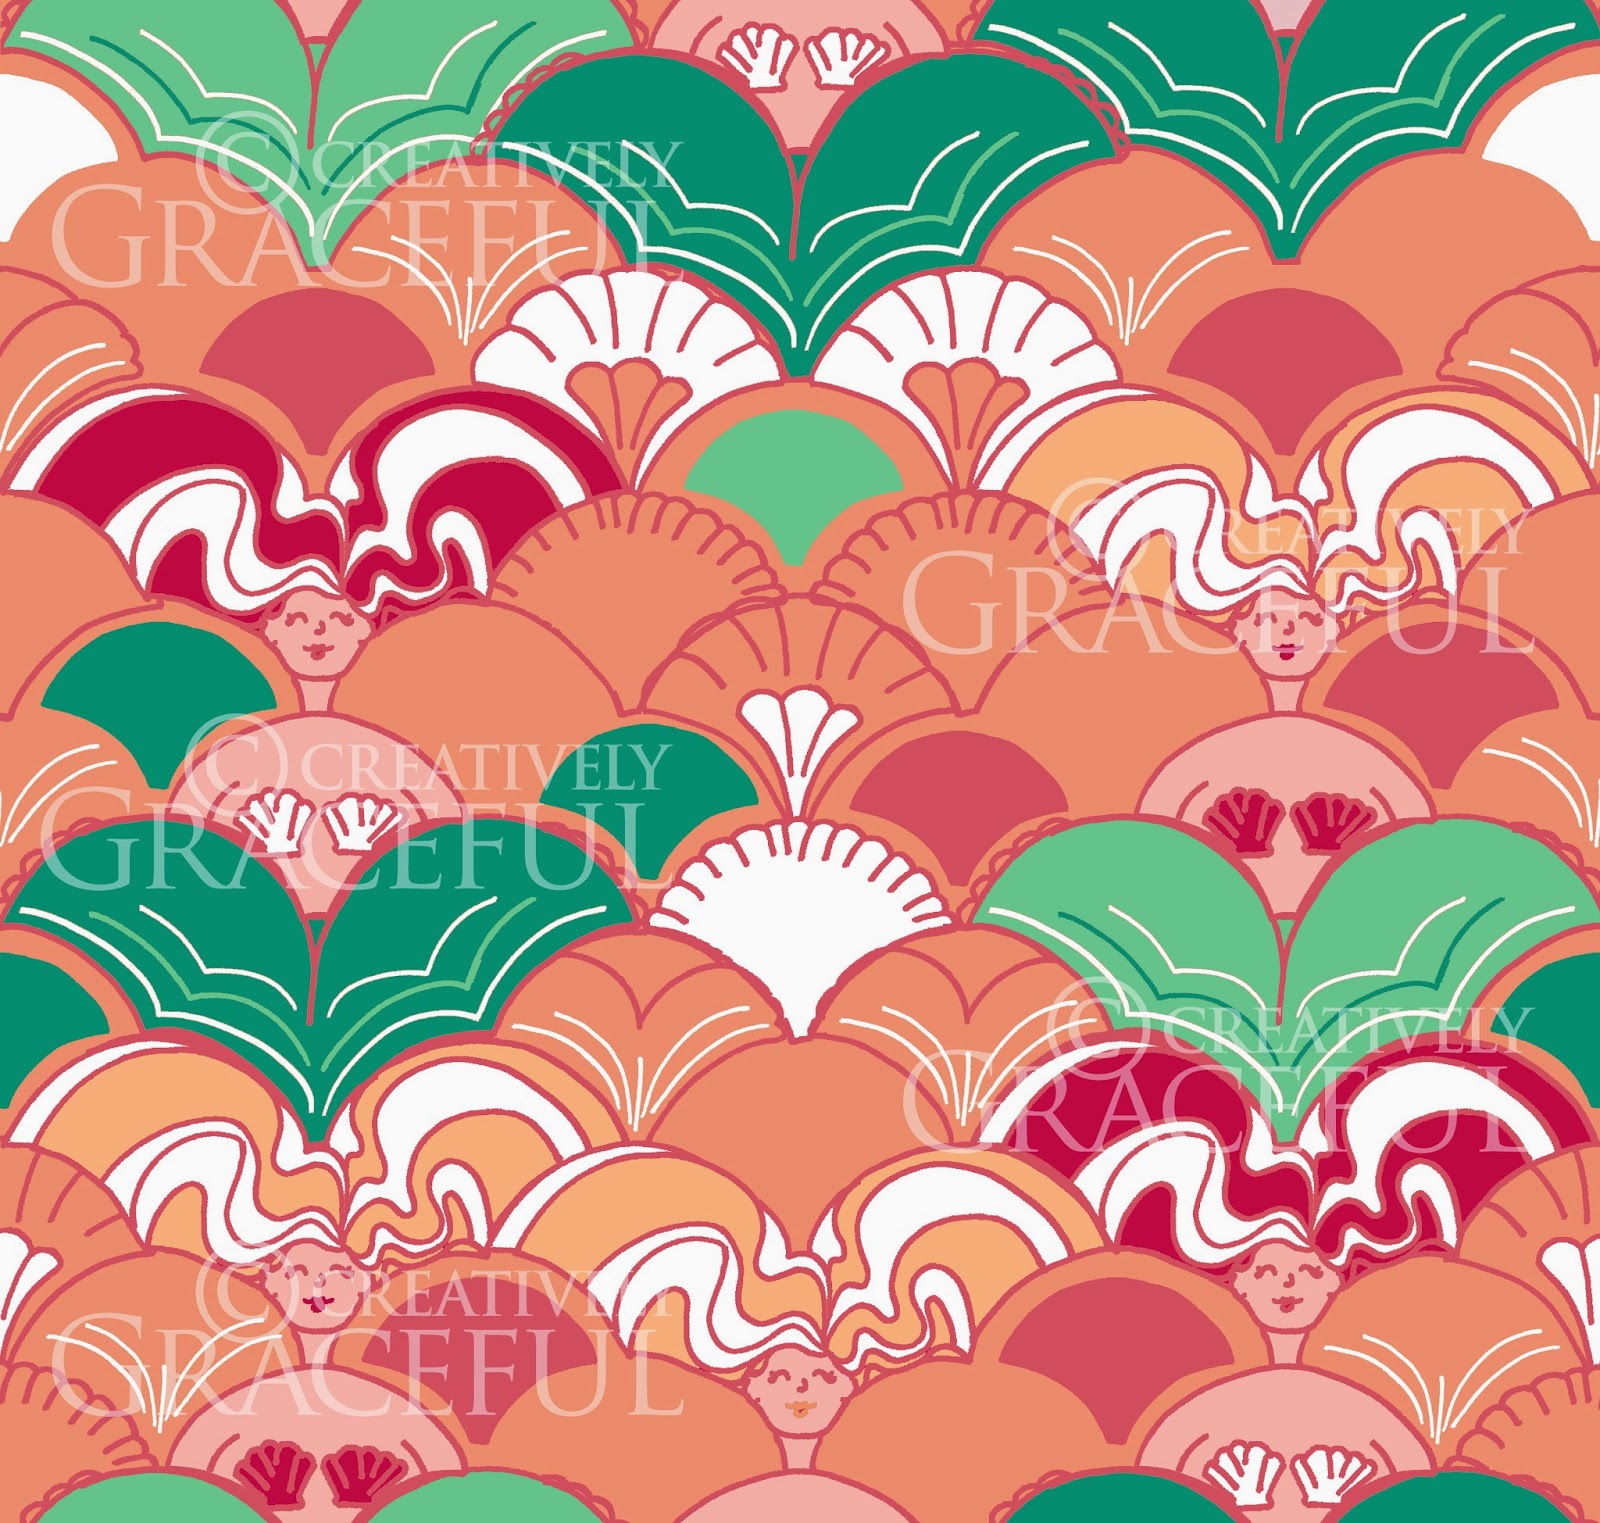
Pssst! Ebony and Ivory is already available for sale in my shop on Spoonflower as fabric, wallpaper, gift wrap, cut-and-sew patterns, and homewares. Decollect is soon to be for sale as well!

Saturday, September 10, 2016

Fibrefest 2016 Day 1

What a day of enthusiastic conversations with cheery people! I could talk about surface pattern design forever, so it's a good thing there's another whole day for the show! Fibrefest is on again tomorrow from 10am to 4pm. The Creatively Graceful booth is in the Almonte Arena at 182 Bridge Street, Almonte, Ontario.

Monday, June 22, 2015

Retro BBQ Tray by Marcelline Stoyke

 This fabulous BBQ tray was a mere $4.99 from Value Village. The whimsical illustrations are by Marcelline Gougler Stoyke, a designer who lived in Evanston, Illinois in the mid '50s. This is one of a series of her designs created for trays. Marcelline worked for Social Supper, Pickard China, Sears, Heisey, Stotter, Federal Glass, and Melmac. Doesn't the jolly chef just make you grin from ear to ear? Her model was her husband. And that "Come 'n get it!" is hilarious! Marcelline's style of illustration is perfection: graphic, detailed, whimsical, joyous, and a total inspiration for me!

Saturday, November 22, 2014

Thursday, September 18, 2014

DIY Scalloped Series: Necklace


Materials:
Glue gun
Paint brush
Acrylic paint
Thin wooden semicircles (Note: I started with 4 circles and sawed them in half to get 8 semicircles)
Ribbon the thickness of the wooden semicircles (I used a length about 30 inches)
Step 1: Paint the wooden semicircles with your desired color or pattern. 
As you can see, I gave mine a golden edge and painted one side mint green. When I want a more neutral necklace I can wear it with the wooden side showing to match my hair and skin.
Step 2: Center and hot glue the painted semicircles onto the ribbon to make a row of scallops. 
The extra ribbon at the ends can be tied in a bow as the closure.
Ta-da!

Monday, September 08, 2014

DIY Scalloped Series: Collared Shirt

A polo shirt can be updated with this scalloped collar because the piqué frays minimally and holds its shape.
Materials: 
Polo shirt
Matching thread
Sewing machine
Tape measure
Scissors
Pencil
Step 1: Measure the circumference of the collar to figure out how to divide it up into evenly sized scallops. I decided to mark my collar every 2 inches because it is about 18 inches long.
Step 2: After measuring and marking draw the scallops in with pencil.
Step 3: Snip along the scalloped line.
Step 4: Top stitch the edge and wear with joy!

Tuesday, August 26, 2014

DIY Scalloped Series: Shorts

This is part 1 of 3 of a delightful DIY series to incorporate more scalloped items into your wardrobe. Because who doesn't want more scalloped items in their wardrobe? I have wanted to make a pair of scalloped shorts for the past several years, but I could never figure out the best way to go about it. Since I wasn't planning on wearing felt shorts, for example, there was always the problem of fraying edges to deal with, but neither anti-fray glue nor bias tape seemed like the right answer. Then one night while I was falling asleep I dreamed up this solution. When I woke up I tried it out on a scrap of fabric and it seemed promising, and it is. So here we are:
Materials:
Pair of mid-calf shorts (I got this beige linen pair for about $3 at Value Village)
Matching thread
Sewing machine
Sewing scissors
Tape measure
Pencil 
Pins
Iron
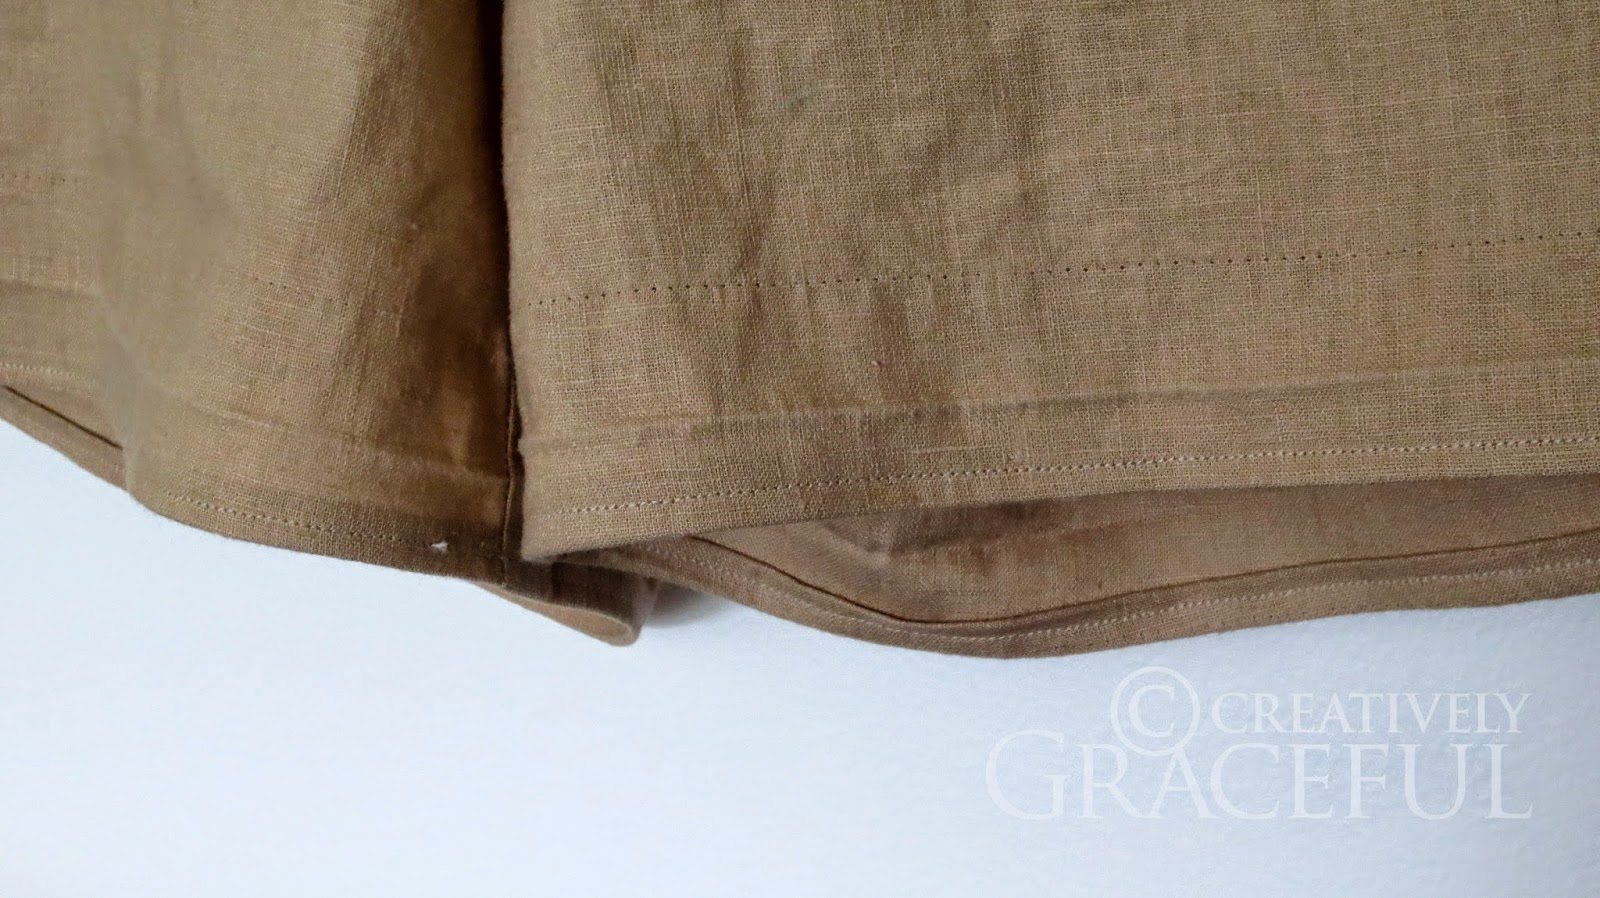
Originally these shorts had a 1-inch hem, so I picked it out and sewed a new quarter-inch hem to ensure that when I made the scallops the legs didn't become too short. You may need to do this as well depending on the original length of your shorts. Consider this an optional warning before you begin.
Step 1: Starting with the shorts right-side-out, fold the up the hem, revealing the inside of the leg. You should have a 1-inch space between the folded edge and  the inside edge of the hem. Your scallops will then have a height of an inch.
Step 2: Measure the circumference of the leg hole and decide on what you will divide it by to make the scallops. For example, on this pair the legs each had a circumference of 25 inches, so I pinned each leg every 2.5 inches to outline a space for 10 scallops.
Step 3: Sketch the scallops in the pinned spaces with pencil. 
Step 4: Sew along the scalloped pencil line.
Step 5: Clip out the excess fabric from the scalloped line to reveal the scallops.
Step 6: Flip the scallops inside-out  (well, right-side-out) so that the seams are contained within the scallops.
Step 7: Now that the scallops are right-side-out, iron them flat and smooth. 
Step 8: Top stitch along the full length of the scallops to secure them in place. As you can see, my scallops are not perfect even after the tedious ironing and top stitching, so don't expect perfection unless you are an expert seamstress! But hey, the fraying threads are tucked safely and cleanly away in the leg and the scallops are visible, so that's cause for excitement!
Enjoy! Parts 2 and 3 of different scalloped garments still to come!

Wednesday, April 23, 2014

Uppercase Mag

The other day I was at Chapters and picked up the April/May/June 2014 issue of Uppercase Magazine, which is the special Surface Pattern Design Guide. I was leafing through it and then had an unexpected, heart-stopping moment of semi-fame. I stumbled onto this spread, an article about Spoonflower, and noticed my Scallop fabric (from the Milk and Honey shoes) in the upper right corner.
 The photo is not specifically credited to me, of course, but it was a bright discovery nevertheless! It was one of those little "Wow I Feel Like A Legit Artist" realizations.  
Anyway, I bought the magazine and--whew! It is packed (on quality paper, I might add) with fantastic information and stunning textile designs!
If you are at all interested in surface pattern design I highly recommend you check it out!

Saturday, April 12, 2014

Clay

These are the first things I have ever made out of clay--a pedestal, doily tray, beads, and (quelle surprise) roses. Now I am totally in love with the medium!
There were a few cracks in the edges of the tray after it was fired so I filled them with plaster and then painted the whole thing white.
The "Robin's Egg Green" glaze took me a while to find, since I didn't expect it to be pink!
On the roses I used clear glaze, although I was similarly surprised when I opened the container.
The glaze on the pedestal makes it look like a chocolate chip cake--an unintentionally cute result!
The tray is going to display some of my jewellery so I gave it a gold rim.
I made these into robin's egg beads to use for a necklace or bracelet.
I will use the white roses to decorate my shelves, and the pink ones will be used as pendants.

Wednesday, December 18, 2013

Scallop Shoes Arrival

I received my Milk and Honey prize shoes the other day! The package was delivered by a postman working extensive Christmas hours, so it arrived in the evening as a lovely early Christmas gift.
 
It was so delightfully suspenseful to unwrap the box and discover the shoes made of my Scallop fabric.
They are excellent quality shoes.
Whatever time they spend off my feet they will probably spend on my shelf so I can squeal at their cheery beauty. Thanks Milk and Honey and Spoonflower!

Related Posts Plugin for WordPress, Blogger...