INSTAGRAM

Friday, August 29, 2014

Eyes to the Soul

Here's my fabric design for Spoonflower's Your Neighborhood challenge of the week. I've always thought that the windows of a building are the most revealing aspect of its character, and I love to observe the fascinating variety of architectural forms they take! I'm especially partial to overflowing window baskets.

Tuesday, August 26, 2014

DIY Scalloped Series: Shorts

This is part 1 of 3 of a delightful DIY series to incorporate more scalloped items into your wardrobe. Because who doesn't want more scalloped items in their wardrobe? I have wanted to make a pair of scalloped shorts for the past several years, but I could never figure out the best way to go about it. Since I wasn't planning on wearing felt shorts, for example, there was always the problem of fraying edges to deal with, but neither anti-fray glue nor bias tape seemed like the right answer. Then one night while I was falling asleep I dreamed up this solution. When I woke up I tried it out on a scrap of fabric and it seemed promising, and it is. So here we are:
Materials:
Pair of mid-calf shorts (I got this beige linen pair for about $3 at Value Village)
Matching thread
Sewing machine
Sewing scissors
Tape measure
Pencil 
Pins
Iron
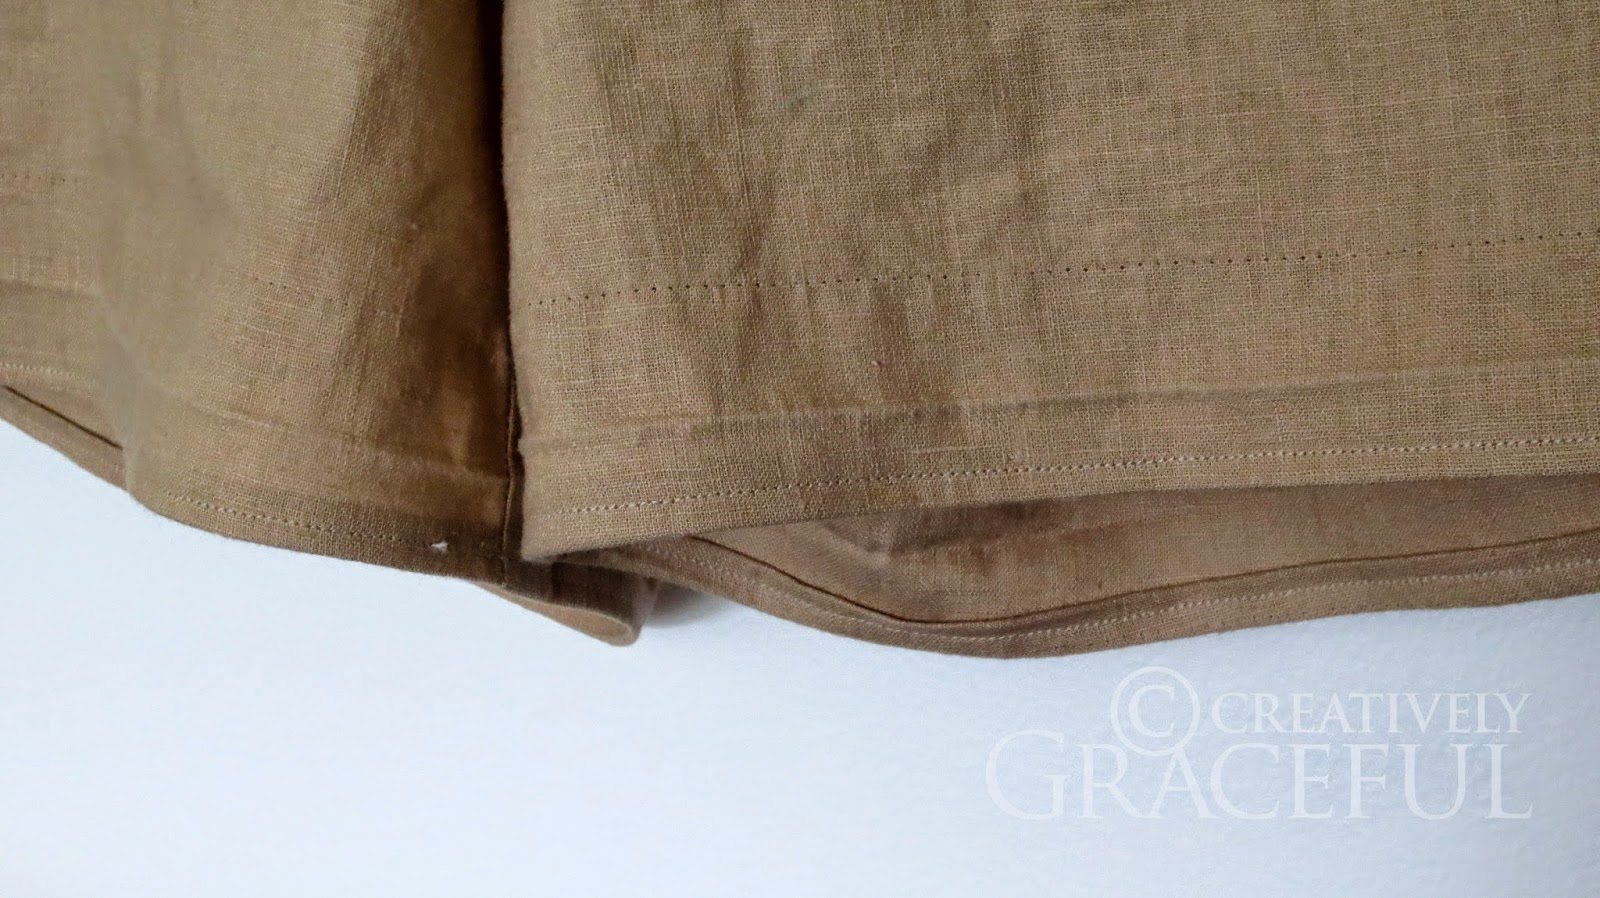
Originally these shorts had a 1-inch hem, so I picked it out and sewed a new quarter-inch hem to ensure that when I made the scallops the legs didn't become too short. You may need to do this as well depending on the original length of your shorts. Consider this an optional warning before you begin.
Step 1: Starting with the shorts right-side-out, fold the up the hem, revealing the inside of the leg. You should have a 1-inch space between the folded edge and  the inside edge of the hem. Your scallops will then have a height of an inch.
Step 2: Measure the circumference of the leg hole and decide on what you will divide it by to make the scallops. For example, on this pair the legs each had a circumference of 25 inches, so I pinned each leg every 2.5 inches to outline a space for 10 scallops.
Step 3: Sketch the scallops in the pinned spaces with pencil. 
Step 4: Sew along the scalloped pencil line.
Step 5: Clip out the excess fabric from the scalloped line to reveal the scallops.
Step 6: Flip the scallops inside-out  (well, right-side-out) so that the seams are contained within the scallops.
Step 7: Now that the scallops are right-side-out, iron them flat and smooth. 
Step 8: Top stitch along the full length of the scallops to secure them in place. As you can see, my scallops are not perfect even after the tedious ironing and top stitching, so don't expect perfection unless you are an expert seamstress! But hey, the fraying threads are tucked safely and cleanly away in the leg and the scallops are visible, so that's cause for excitement!
Enjoy! Parts 2 and 3 of different scalloped garments still to come!

Saturday, August 23, 2014

Recent Thrift: Polka-dot Shorts

This pair of Telluride Clothing Co. shorts was $5 at Value Village. They are like a polka-dot sky!

Wednesday, August 20, 2014

DIY Pom-Pom Craspedia

Materials: 
Embroidery needle
Wire for stems
Yellow yarn
Scissors
Fork
Step 1: Snip off a few inches of yarn and set it aside.
Step 2: Wrap the yarn from the ball through the tines of the fork, and then around the fork multiple times. 
The more times you wrap it around, the tighter your pom-pom will be.
Step 3: Use the embroidery needle to pull the piece of yarn between the fork tines.
Step 4: Tie the wrapped bundle of yarn tightly in the middle.
Step 5: Slide the bundle of yarn off the fork and cut open the looped ends.
Step 6: Trim down the ends to make the pom-pom tight, and fluff it up as you go.
Step 7: Push the pom-pom onto the piece of wire.
Then find a cute vase for your bouquet!

Saturday, August 16, 2014

Waldeinsamkeit

This is my design for Spoonflower's palette-restricted Hiking challenge of the week. Palette-restricted challenges are always super fascinating because of the numerous different ways the participating designers use the palette. Sometimes the designs look sophisticated, or cheerful, or calming, and so on, based on the background color and which colors are used side by side. I've found that creating a pattern with interesting shapes and textures is what attracts attention in this case, since everyone is dealing with the same hues.

Wednesday, August 13, 2014

Janet Hill

Just wow. These glamorous, fun, girly works of art were painted by the extremely talented Janet Hill. You can check out her shop here. She has an unfathomably extensive and thoroughly lovely portfolio. Her paintings are everything I love in one, which is a very rare and wonderful statement. 

Sunday, August 10, 2014

European Backpacking

Goodness, so much fabric designing activity! This is my entry to Spoonflower's Backpack challenge of the week. I went the romantic route with the theme instead of going for traditional back-to-school. Aside from the color scheme, my favourite part is the layers of stamps over the design. They were so much fun to draw!

Thursday, August 07, 2014

Monday, August 04, 2014

Audrey: The Life of Audrey Hepburn

I got this book for next to nothing at a book sale and was pleasantly surprised when I cracked it open and read it. As a biography, I was expecting a dry sequence of dates, names, and places, but Charles Higham did Audrey more justice than that. It is factually yet descriptively written, actually quite beautifully written at times. 
The book covers Audrey's childhood to the end of her career in film. In particular, I enjoyed learning about what led her to entering the film industry, as well as the shocking situations she was in as a child working with the Dutch resistance during WWII. It's a captivating read!

Related Posts Plugin for WordPress, Blogger...