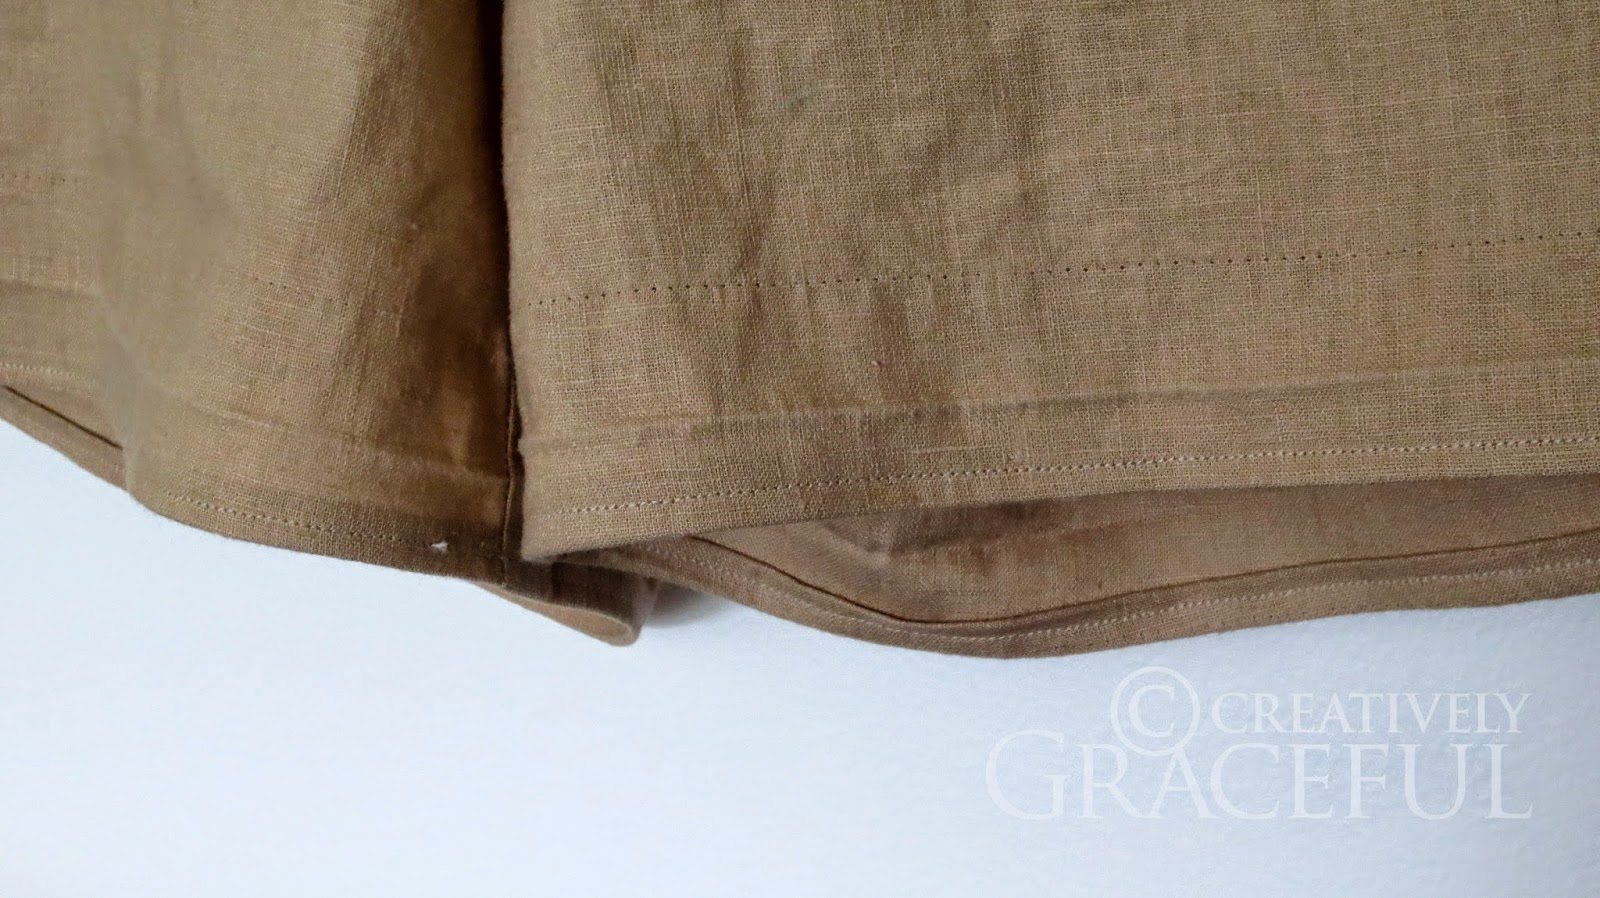
This is part 1 of 3 of a delightful DIY series to incorporate more scalloped items into your wardrobe. Because who doesn't want more scalloped items in their wardrobe? I have wanted to make a pair of scalloped shorts for the past several years, but I could never figure out the best way to go about it. Since I wasn't planning on wearing felt shorts, for example, there was always the problem of fraying edges to deal with, but neither anti-fray glue nor bias tape seemed like the right answer. Then one night while I was falling asleep I dreamed up this solution. When I woke up I tried it out on a scrap of fabric and it seemed promising, and it is. So here we are:
Materials:
Pair of mid-calf shorts (I got this beige linen pair for about $3 at Value Village)
Matching thread
Sewing machine
Sewing scissors
Tape measure
Pencil
Pins
Iron
Originally these shorts had a 1-inch hem, so I picked it out and sewed a new quarter-inch hem to ensure that when I made the scallops the legs didn't become too short. You may need to do this as well depending on the original length of your shorts. Consider this an optional warning before you begin.
Step 1: Starting with the shorts right-side-out, fold the up the hem, revealing the inside of the leg. You should have a 1-inch space between the folded edge and the inside edge of the hem. Your scallops will then have a height of an inch.
Step 2: Measure the circumference of the leg hole and decide on what you will divide it by to make the scallops. For example, on this pair the legs each had a circumference of 25 inches, so I pinned each leg every 2.5 inches to outline a space for 10 scallops.
Step 3: Sketch the scallops in the pinned spaces with pencil.
Step 4: Sew along the scalloped pencil line.
Step 5: Clip out the excess fabric from the scalloped line to reveal the scallops.
Step 6: Flip the scallops inside-out (well, right-side-out) so that the seams are contained within the scallops.
Step 7: Now that the scallops are right-side-out, iron them flat and smooth.
Step 8: Top stitch along the full length of the scallops to secure them in place. As you can see, my scallops are not perfect even after the tedious ironing and top stitching, so don't expect perfection unless you are an expert seamstress! But hey, the fraying threads are tucked safely and cleanly away in the leg and the scallops are visible, so that's cause for excitement!
Enjoy! Parts 2 and 3 of different scalloped garments still to come!


No comments:
Post a Comment