If you ever buy second hand clothing that has a smell you wish would disappear then nature is your best friend! I always put my newly thrifted clothing items out on the line for a heavy rain treatment followed by a sunshine dry, and then bring them inside and wash them in the washing machine. (I usually hang them inside out to prevent fading the exterior of the garment.) The sun and rain work wonders at removing perfumes and such!
Showing posts with label Tip. Show all posts
Wednesday, July 11, 2018
Friday, January 23, 2015
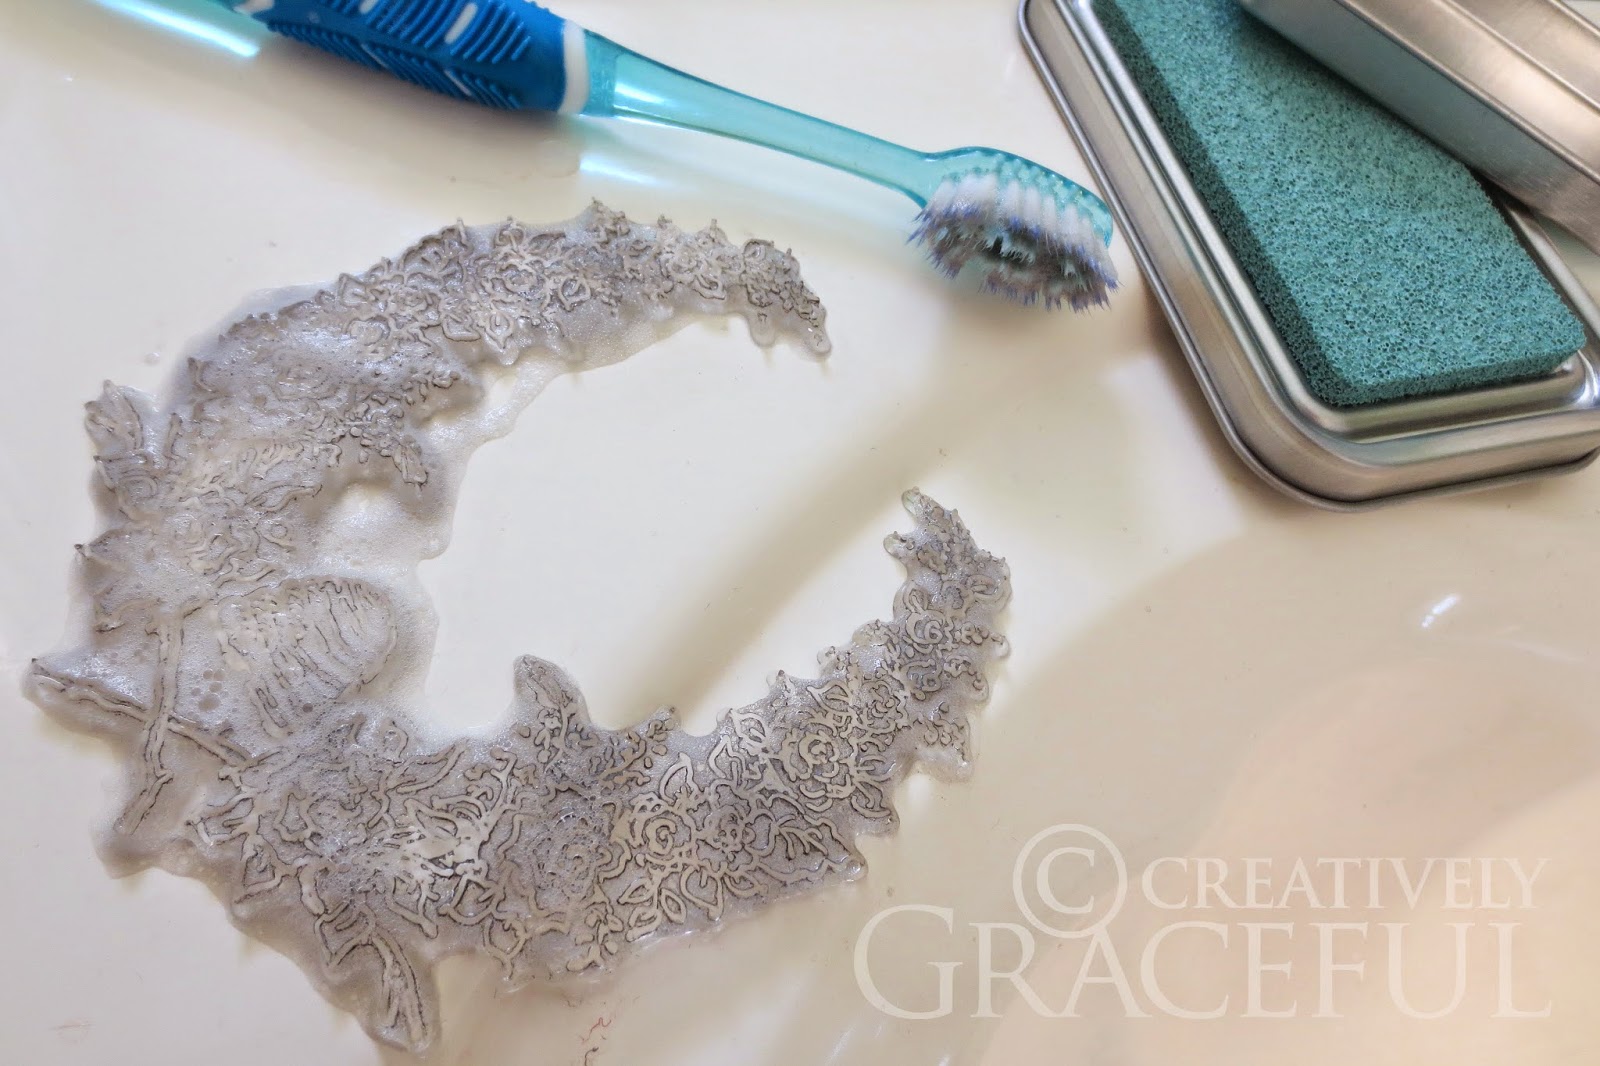
Quick Tip: Cleaning Stamps
Silicone stamps are great for their detail, but if they are improperly cleaned their grooves can get permanently clogged with ink and cause their prints to lose their intricacy. Using a toothbrush and mild soap to clean them right after use helps keeps them stain-free.
Friday, July 04, 2014
Quick Tip: DIY Lace Collar
I turned this yellow linen top into a lemony confection with just a bit of lace. Simply trimming the neckline of a shirt with the same circumference of lace gives it a pretty collar.
Tuesday, March 18, 2014
Quick Tip: DIY Painted Hanger
Since I often display garments on my walls I like to have them on pretty hangers. I painted this simple wooden hanger with polka dots on one side and floral on the other. The floral was freehanded, but the polka dots can be easily made by dipping the end of a dowel in paint and using it as a stamp. You'd be surprised by how these functionally pretty, reversible hangers brighten up your storage.
Tuesday, March 04, 2014
Quick Tip: DIY Ruffled Edge Scarf
I've had this scarf for a few years and I love its bright color and airy texture, but the fringe always got tangled in my hair. It made for a generally ratty sight, so it frequently sat in my closet. Now that spring is around the corner I am obsessed with everything yellow. This time of year reminds me why it's technically my favourite color (I say technically because, in practice, I usually favour pink.) Anyway, I snipped those dangling strings right off and sewed down the two ends of the scarf to reduce the likelihood of it fraying. The scarf now has a slightly scalloped, ruffled edge, which I love because it looks like a daffodil!
How perfect for light spring outfits!
Wednesday, January 29, 2014
Quick Tip: DIY Paint Chip Bunting
Seriously, it is one of my lofty goals to generate a lengthy list of useful repurposes for paint chips. This bunting is the first one. It is obviously completely customizable, as you can choose the specific hues for a jaunty scheme. The white stripes add a colorblock touch. All you need is string, tape, scissors, and the pile of paint chips that is sitting around burning a colorful hole in your design files. You can create instant cheer that is basically free!
Friday, October 18, 2013
Quick Tip: DIY Sheer Shoelaces
Why settle for dull opaque shoelaces when you could have unexpectedly pretty sheer ones?
Materials:
Tape
Scissors
Shoes in need of better laces
Sheer ribbon in the color of your choice
Step 1: Remove the old laces from your shoes, and cut two lengths of ribbon the same size as the laces.
Step 2: Tightly wrap a piece of tape around each ribbon end to create an aglet.
Step 3: Lace up your shoes with your new sheer ribbon shoelaces and enjoy the cuteness!
Materials:
Tape
Scissors
Shoes in need of better laces
Sheer ribbon in the color of your choice
Step 1: Remove the old laces from your shoes, and cut two lengths of ribbon the same size as the laces.
Step 2: Tightly wrap a piece of tape around each ribbon end to create an aglet.
Step 3: Lace up your shoes with your new sheer ribbon shoelaces and enjoy the cuteness!
Monday, October 07, 2013
Quick Tip: DIY Button Brooches
Do you have buttons that are too pretty to keep hidden in a jar? Well, with this easy idea you can now wear them as jewellery without compromising their potential as buttons!
Materials:
Several pretty shank buttons
The same number of safety pins
Step 1: Push a safety pin through the back side of your shirt so the bar sticks out the front.
Step 2: (View from the front side of the shirt) Slip the shank of a button through the bar of the safety pin so the button is on the front of the sweater.
Step 3: Poke the pin back into the sweater and secure it in place.
Step 4: Repeat steps 1, 2, and 3 to make a cluster of button brooches.
You can also turn necklace pendants into brooches by slipping the bar of the pin through the jump ring of the pendant. This technique is super useful if your shirt doesn't have a good frame for wearing a necklace but would still look good with some jewels on the side!
Subscribe to:
Posts (Atom)