INSTAGRAM

Showing posts with label Bow. Show all posts

Monday, January 18, 2016

Monday, December 28, 2015

Bow Tie Man

I sketched this dapper gent in a tux and embroidered his bow tie through the paper.

Monday, August 26, 2013

Doodle, Fabric, Frame

I had this ornate white frame sitting empty on my shelf for several weeks, and, unsure of what to put in it, I whipped this up. I used a black marker, pink pencil crayon, and some cardstock to make the cat drawing. Then, to make it a little more interesting, I added the pink calico bow that I made out of a scrap of the fabric. The idea of adding fabric to a plain drawing could be altered in numerous ways to make whatever image you like. The simple portrait of this self-satisfied kitty in his fancy frame makes me chuckle every time I look at it. An inexpensive DIY artwork, if it makes you smile, is the best kind of décor. It certainly doesn't take much effort to fill a frame with cuteness!


Sunday, July 21, 2013

DIY Double Bow Shirt

You've likely seen this shirt idea floating around Pinterest, so here is my tutorial for how to alter a basic shirt into a fashionable bow back shirt.
Materials:
T-shirt
Matching thread and needle
Chalk
Sewing scissors
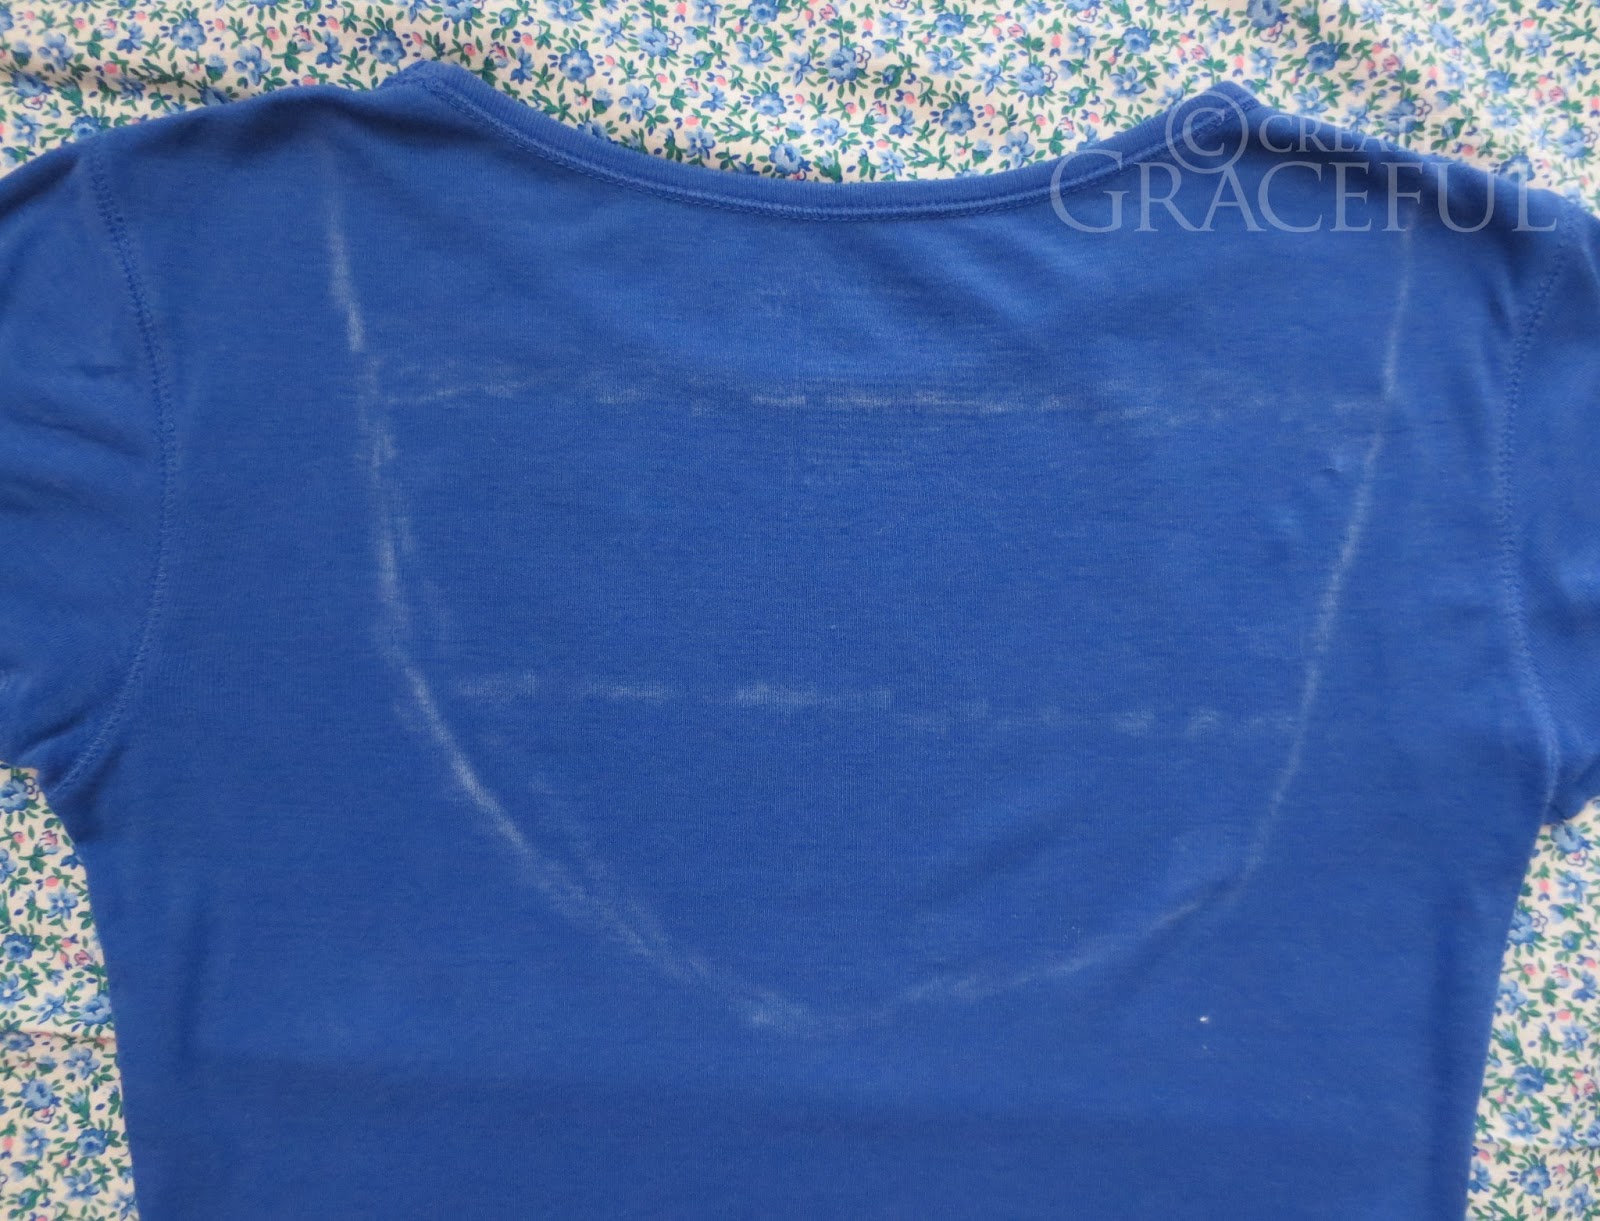
Step 1: Try the shirt on, and use the chalk to mark a line on the back of the shirt. You'll need really flexible arms or a friend's help for this step! Draw around your bra strap perimeter. The line will help guide you later on with centering the bow, and prevent your straps from being totally visible.
Step 2: Divide the section roughly in thirds. 
Step 3: Cut down the lengths of the two lines.
Step 4: Pinch together the fabric in between the two cut lines to make a bow. Make sure you pinch the bow so the middle is centered on the shirt.
Step 5: Sew the bow together at the pinched mark.
Step 6: Pinch the fabric between the neckline and the first bow. Sew it in the middle to create the second bow.
There you have it!
Related Posts Plugin for WordPress, Blogger...